How to Cut a Kurti part 4, Drafting the Sleeve Pattern
Part 4 Drafting the Sleeve Pattern
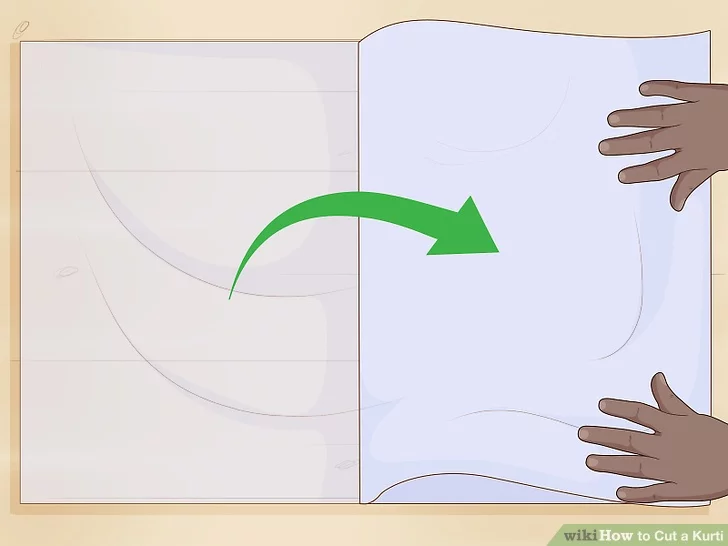
- Keep the folded edge of the paper facing you.
- Depending on the length of your desired sleeve, a regular sheet of printer paper should work just fine for this.
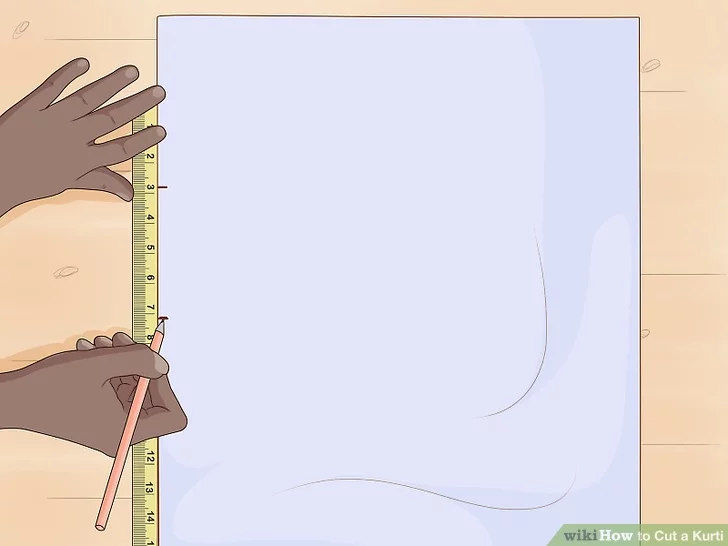
- This mark will be the top of your sleeve. The edge of the paper is the opening of the sleeve.
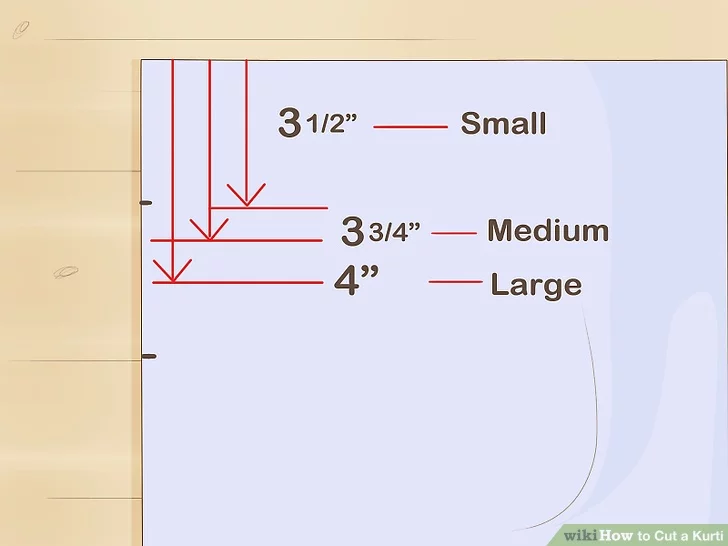
- If you are a size small, make a mark 31⁄2 in (8.9 cm) from the top edge of the sleeve.
- For a size medium, make a mark 33⁄4 in (9.5 cm) from the top edge.
- If you’re a size large or extra-large, measure down 4 in (10 cm), and make your mark.
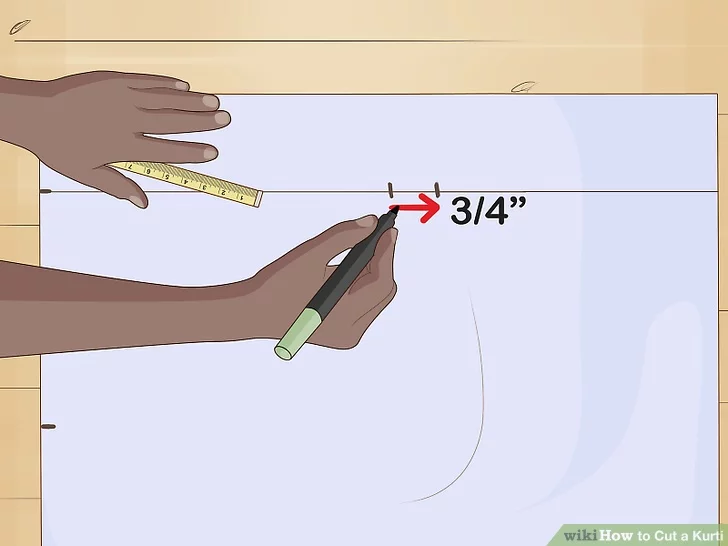
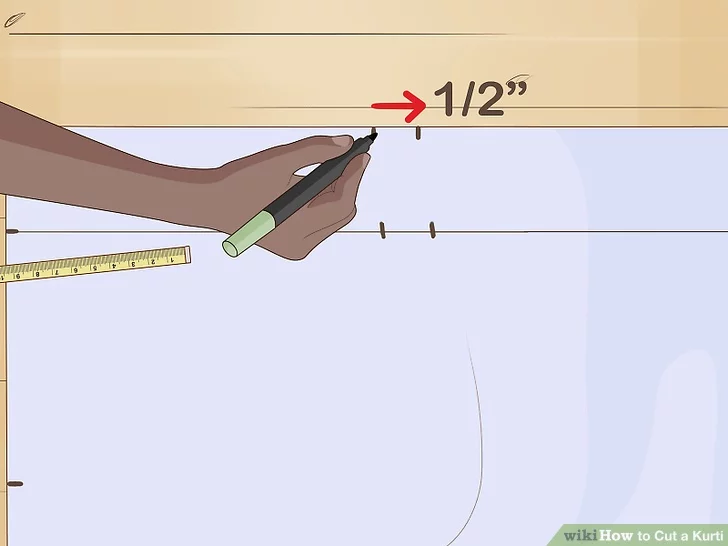
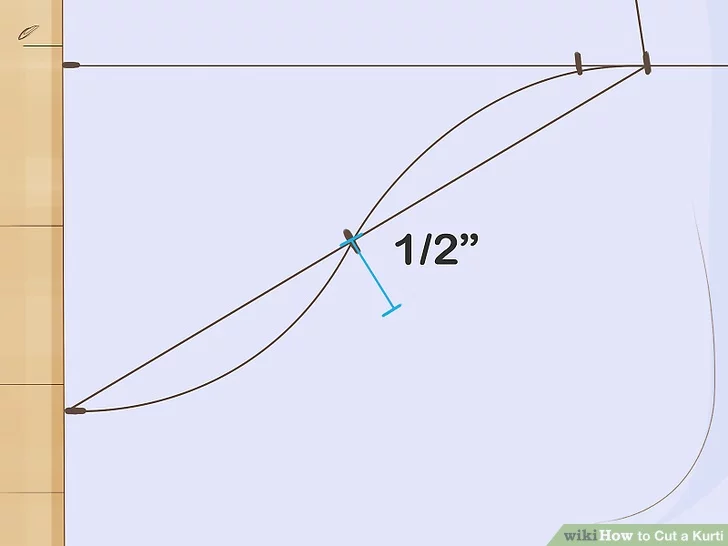
- You should still add 1⁄2 in (1.3 cm) ease here even if you added 3⁄4 in (1.9 cm) ease to the arm round.
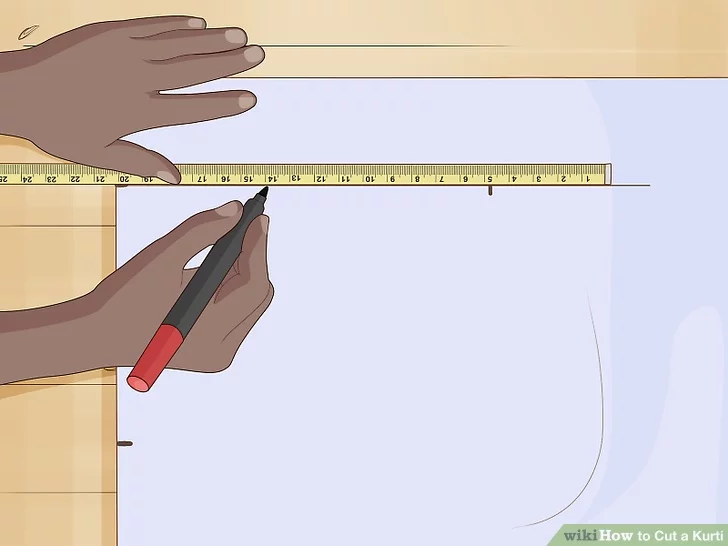
- The top edge of your sleeve length line is the mark that you drew at the very beginning.
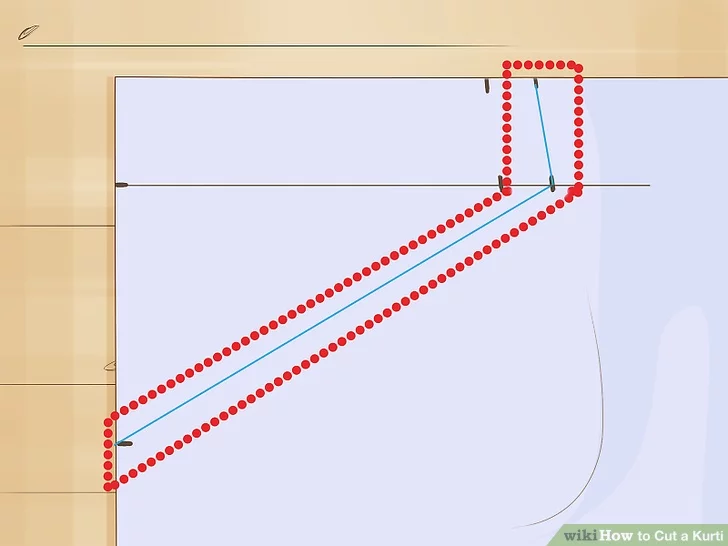
- You won’t be cutting along this line, so make it light.
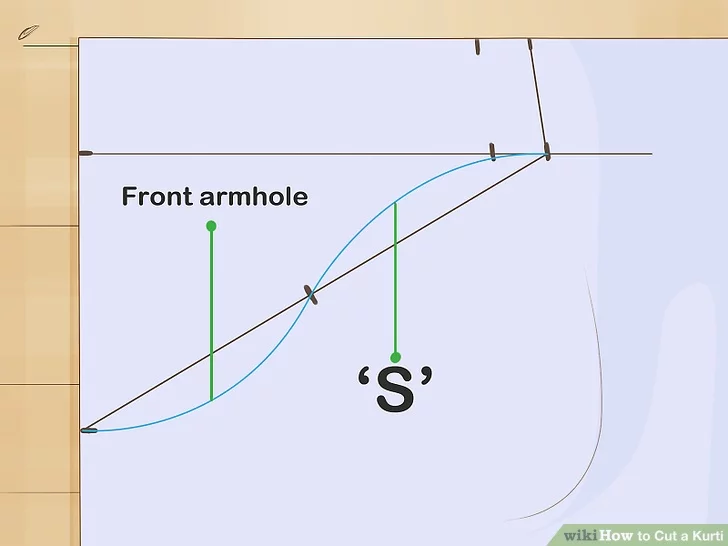
- The outward curving line is the sleeve cap. The inwardly curving line is the armpit.
- Use a French curve tool for this, or free-hand it.
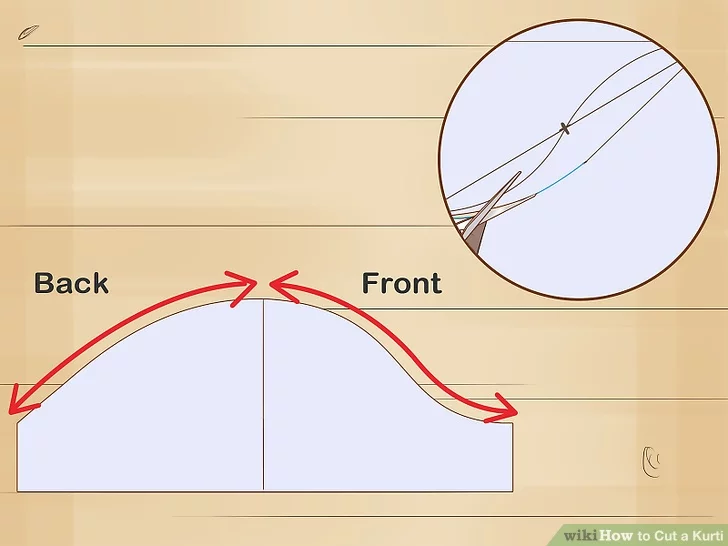
- This completes the front part of your sleeve pattern.
- Use a different color of pen or pencil for this mark. This will eventually become your back sleeve pattern.
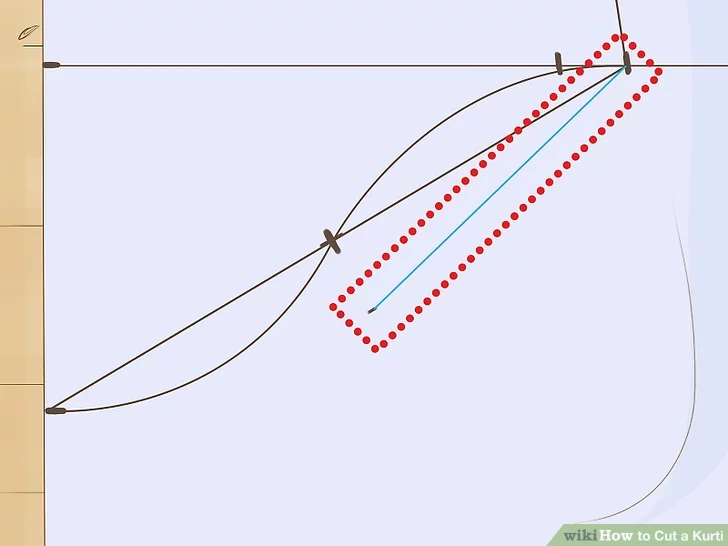
- Don’t connect this line to the top of the sleeve length line.
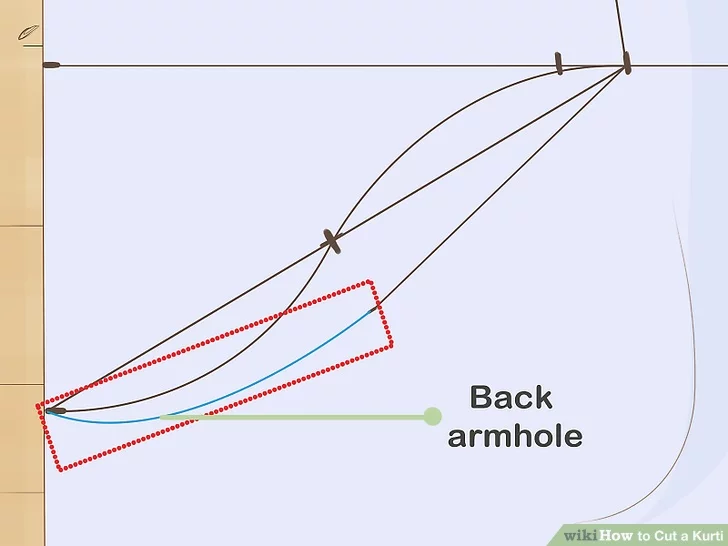
- This completes the back sleeve pattern.
- Use the same color that you used for the diagonal line you drew earlier.
- When you first cut the paper, both sides will create the back arm hole. When you unfold and cut the paper again, the other side will become the front arm hole!
- Don’t forget the side edge of the sleeve.