How to Cut a Kurti part 2, Drafting the Body Pattern
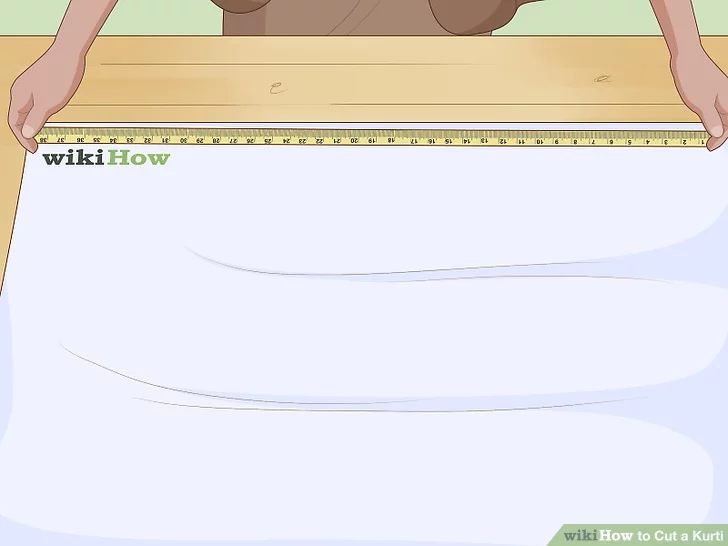
1. Mark the kurti length on pattern paper, starting from the bottom. Place the end of your measuring tape on the bottom corner of your paper. Pull the tape along the edge of your paper until you reach the “full length” measurement. Make a mark at this point.[7]
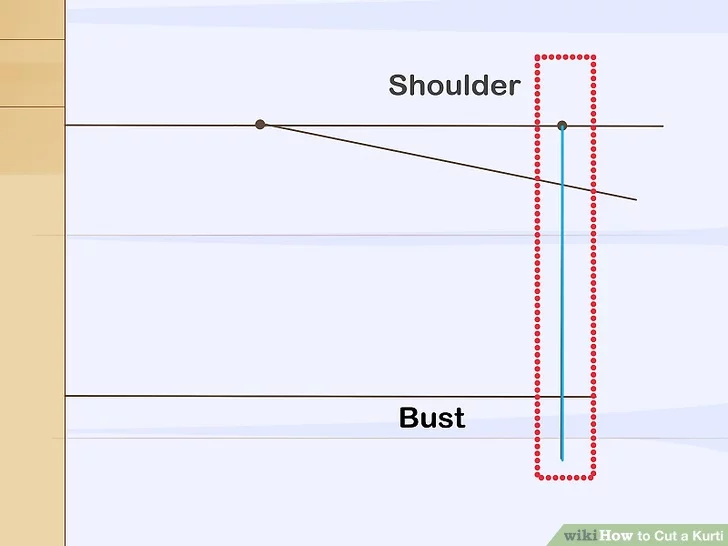
- The mark that you make is actually the shoulder, not the bottom of the kurti.
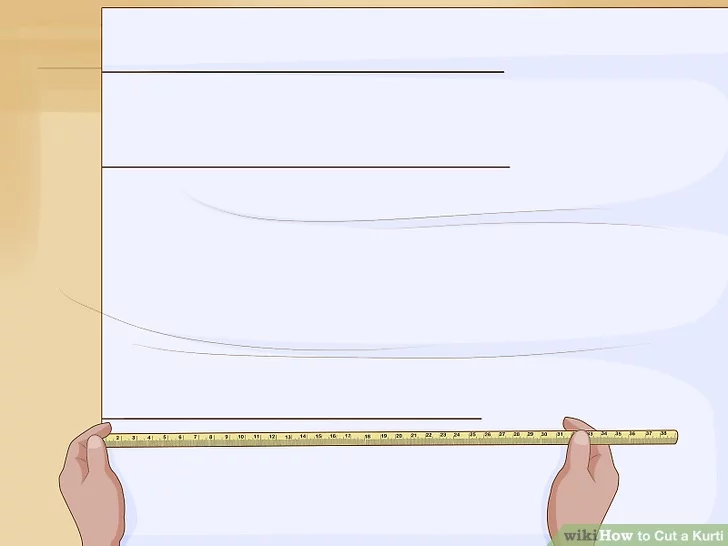
- You don’t need to do the “full length” mark because that’s the bottom edge of the paper.
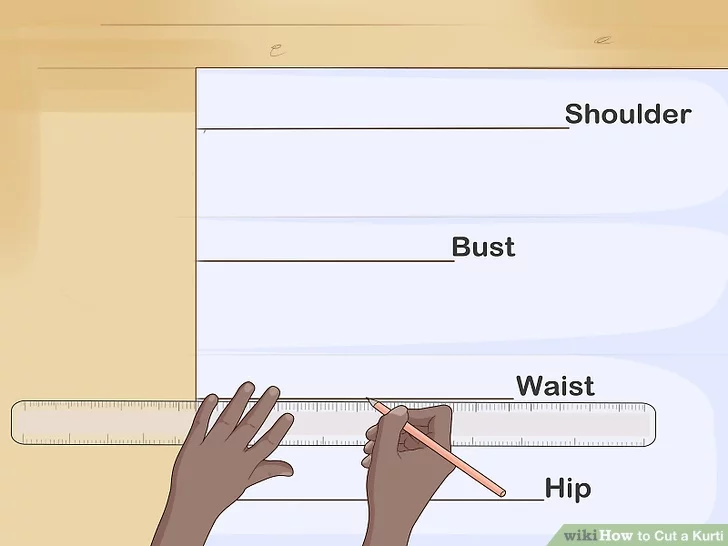
- Make the shoulder line half your shoulder measurement, and the other lines a quarter of your round bust, waist, and hip measurements.
- Align 1 side of the Swanson tool against the vertical line. Use the other side of the tool to draw the shoulder, bust, waist, and hip lines.
- These measurements are standard and should work for most people.
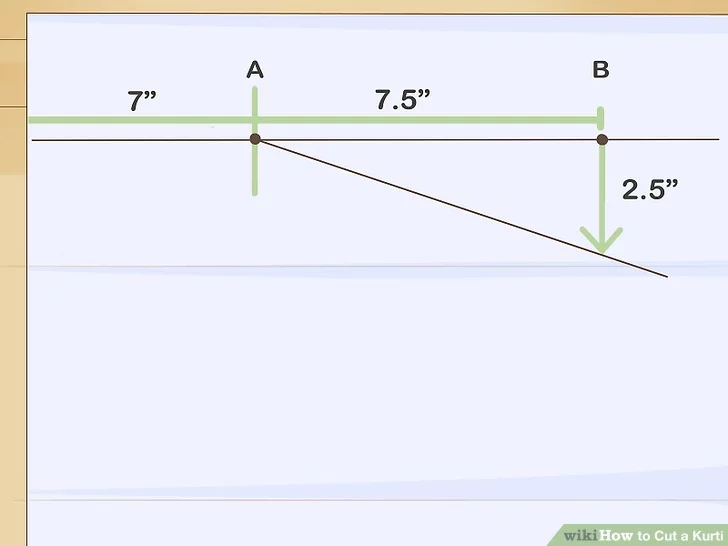
- Use a ruler when drawing the diagonal line connecting the dot to Point A.
- For example, if your shoulder measurement is 14 in (36 cm), make the mark at the 7 in (18 cm) point.
- Erase the shoulder line and anything outside the slope so that you don’t get confused later on.
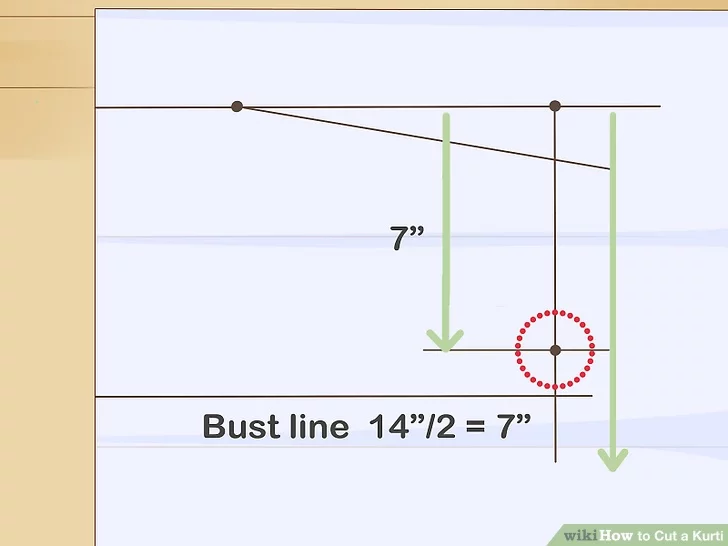
- Make sure that you are measuring down from the horizontal shoulder line, and not up from the horizontal bust line.
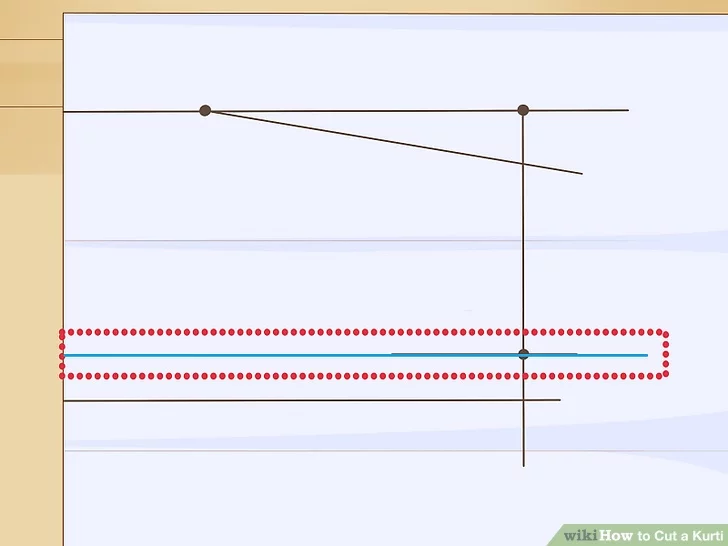
- Don’t worry about the exact length of the line; try to make it around a quarter of your round chest measurement, however.
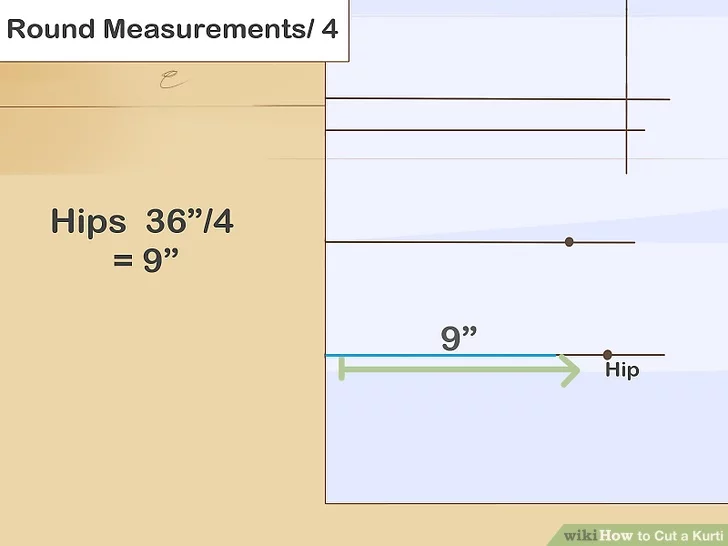
- For example, if your hips measured 36 in (91 cm), your new hip measurement
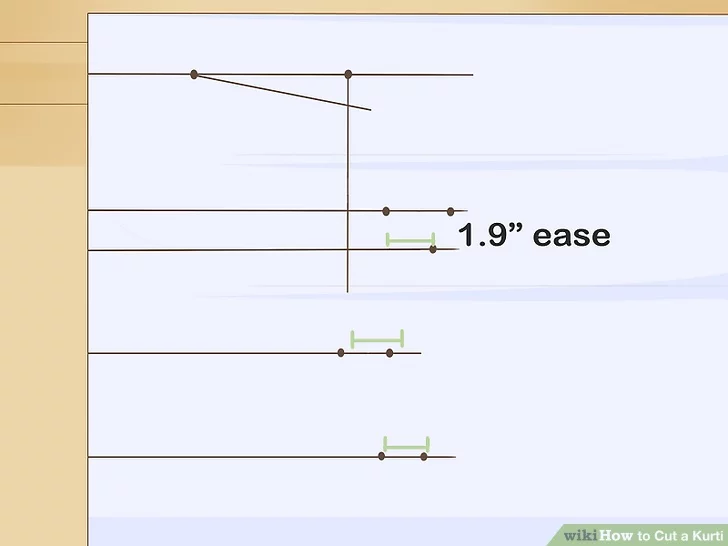
- If you want the kurti to be more fitted in the hips, reduce the ease to 1⁄2 in (1.3 cm).
- “Ease” is the extra space that non-stretching clothing has. It allows for the garment to fit comfortably.
- If you don’t add the ease, the kurti will be too tight. You won’t have room to move around or breathe.
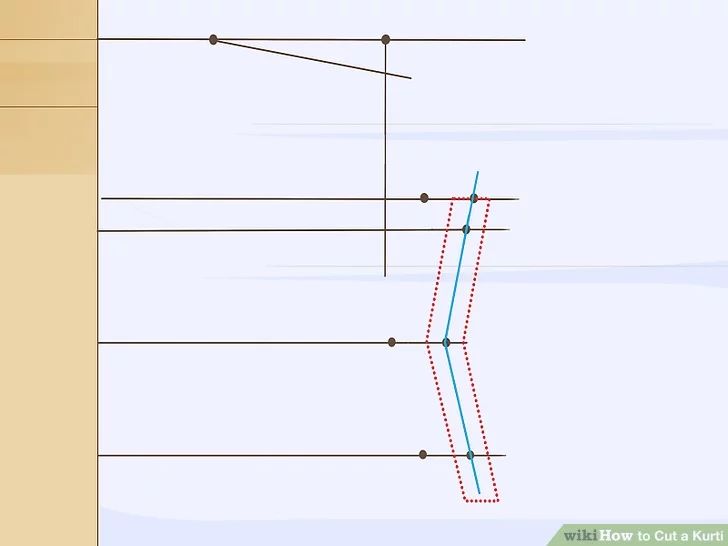
- If the bust mark falls outside the line connecting the chest and waist ease dot, add more ease to the chest and waist, and try again.
- Make the line between the chest and waist ease dots straight, but gently curved between the waist and hip ease dots. If you can, use a dressmaker’s curved ruler for this.
- When you’re done, go back and use a French curve (or similar tool) to gently curve the corner in the waist created by the joining lines. Curve the corner between the hip and bottom vertical line too.